
How to Craft Bone Meal
Ever wondered how to craft bone meal at home? Well, you’re in the right place. I’ll be showing you a simple step-by-step process to make your own bone meal. It’s a fantastic organic fertilizer, great for boosting your garden’s growth.
Not only is bone meal rich in essential nutrients, but it’s also a great way to recycle kitchen waste. As an experienced gardener, I can tell you it’s a game-changer. So, whether you’re a seasoned green thumb or just starting out, this guide will be super helpful.
How to Make Bone Meal at Home
Step 1: Acquire Animal Bones
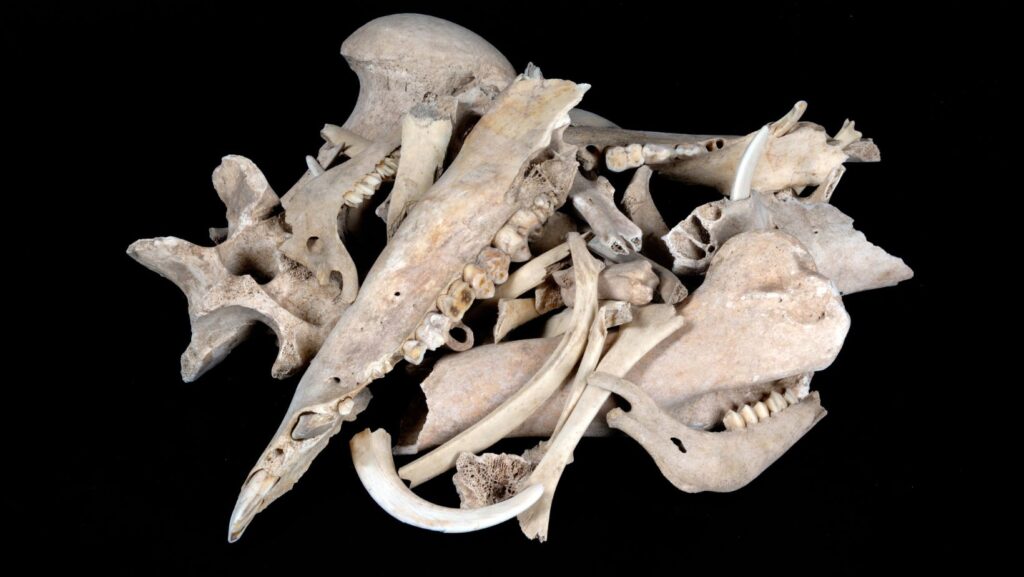
Your first step in making bone meal is gathering animal bones. Both raw and cooked bones can be used. It’s a good idea to save bones after meals or, if you’re comfortable doing so, ask your local butcher.
Step 2: Clean the Bones
Once you’ve gathered enough bones, it’s time for a cleanse. Rinse off any remaining food particles under running water, then place them in a pot of boiling water for twenty minutes. This sanitizes the bones, ensuring the bone meal is safe for your plants.
Step 3: Dry the Bones
After sanitizing comes drying. This step is crucial for the bone-crushing process. You can air-dry the bones in a sunny window for several days, or speed up the process by placing them in an oven set to 200 degrees Fahrenheit for 1-2 hours.
Step 4: Crush the Bones
With your dried, clean bones, it’s time to get to the hard work. Using a mallet, start breaking down the bones into smaller pieces. A rolling pin or even a hammer can also serve this purpose. Be sure to cover the area with a cloth or newspapers for easy cleanup.
Step 5: Grind the Bones
Next, grind the crushed bones into powder. A blender, coffee grinder, or food processor can help. If you don’t have these devices, you might have to resort to some good, old-fashioned elbow grease with a mortar and pestle.
Step 6: Sieve the Powder
Finally, sieve the powder to separate the bone fragments that didn’t grind up completely. This is the final step to creating a smooth, easy to apply bone meal.

Tips for Using Bone Meal
Determine the Correct Amount
Since bone meal is rich in phosphorus, it’s crucial to find a balance and avoid an overdose, which can prove detrimental to plant growth. You may be thinking, how much is too much? or how can I tell if it’s not enough?. Instead of playing the guessing game, I recommend conducting a soil test. This allows for more precision, letting you know the current nutrition levels in your soil.
For a general guide, a quarter to half a cup of bone meal will suffice for most medium-sized plants. That said, plants have individual needs, and some may require more. Always remember, moderation is key.
Mix with Soil or Compost
Sprinkling bone meal directly onto your plants, like some sort of magic dust, isn’t the way forward. Bone meal works best when it’s nicely mixed into the soil or compost, where it can effectively break down and supply nutrients to the plant roots. Since it’s a slow-release fertilizer, it doesn’t give an immediate boost of nutrients but rather provides a steady supply over time.
How best to incorporate it, you ask? Well, here’s my favorite method:
- Step 1: Dig a hole around the plant (or in the planting site for new plants).
- Step 2: Add the necessary amount of bone meal.
- Step 3: Mix thoroughly with the removed soil or compost.
- Step 4: Refill the hole, ensuring the mixed soil covers the plant roots.
Apply at the Right Time
While it might seem logical to spread bone meal anytime, the right timing plays a vital role in ensuring optimal nutrient absorption by plants. Bone meal tends to work best when applied in the early spring when plants are entering their growth phase and need the extra phosphorus boost for flower and fruit development.
That said, a second application in the autumn can be beneficial – especially for perennial plants, helping them store up nutrients for the winter. These timings are, of course, just guidelines – the scheduling should be customized depending upon your plant’s specific needs.
Employing these tips will ensure that you’re not only recycling kitchen waste but also providing your plants with the needed nutrients in the most effective way.