
How To Craft A Bell
Crafting a bell can be both a fun and rewarding DIY project. In this article, I’ll guide you through the step-by-step process of crafting your very own bell. Whether you’re looking to add a unique piece to your home decor or create a personalized gift for someone special, learning how to craft a bell is sure to ignite your creativity.
To begin, gather the necessary materials for your bell-making endeavor. You’ll need metal sheets or aluminum foil, scissors, a pencil, ruler, hammer, nails or awl for creating holes, and string or wire for hanging the finished product. Additionally, consider any embellishments such as beads or paint that you’d like to incorporate into your design.
Next comes the exciting part – designing and cutting out the shape of your bell. Use the pencil and ruler to mark out the desired size and shape on the metal sheet or aluminum foil. Cut along these lines using scissors until you have your desired bell shape.
Once you have crafted the main body of your bell, it’s time to add sound-producing features by creating holes at strategic points. These holes will allow sound waves to escape when the bell is rung. Carefully use nails or an awl to puncture small holes near the top edge of the bell. Now that our basic structure is complete let’s move on to adding some personal touches! Consider painting intricate designs onto your bell using acrylic paints or applying decorative beads with adhesive glue. Get creative and make it truly unique!
Adding Decorative Elements To Your Handcrafted Bell
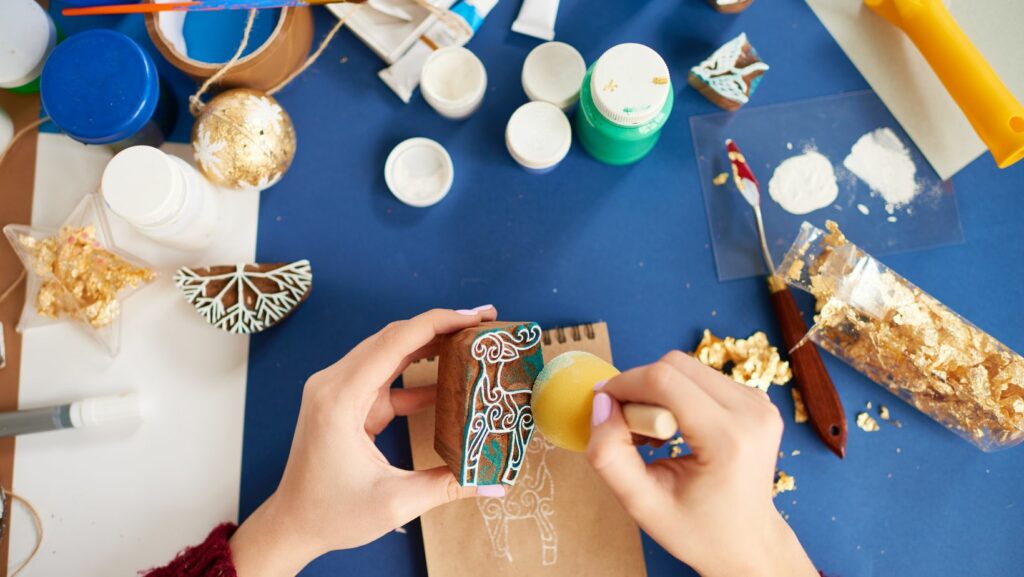
Now that you have mastered the basic techniques of crafting a bell, it’s time to take your creation to the next level by adding decorative elements. These embellishments can enhance the visual appeal of your bell and make it truly unique. In this section, I’ll guide you through some creative ideas for adding that extra touch of beauty to your handcrafted masterpiece.
- Engraving or Embossing: Consider engraving intricate patterns or designs onto the surface of your bell. This can be done using specialized tools or by hand-carving with precision. Alternatively, you can opt for embossing techniques where raised designs are created on the surface using molds or stamps. These decorative details will add depth and texture to your bell.
- Paint and Colors: Experiment with different paint colors to add vibrancy and personality to your bell. Use acrylic paints that are suitable for metal surfaces and apply them in layers for a more vibrant effect. You can also try blending colors together or creating gradients for a stunning visual impact.
- Gemstones and Beads: If you want to add a touch of elegance and sparkle, consider incorporating gemstones or beads into your design. Carefully select stones that complement the overall aesthetic of your bell, whether they are embedded within engraved patterns or attached as dangling accents.
- Metalwork Details: Enhance the craftsmanship of your bell by incorporating small metalwork details such as filigree work, wire wrapping, or soldered motifs. These delicate additions can bring an element of sophistication and intricacy to your finished piece.
- Personalized Symbols: Add meaning and symbolism by including personalized symbols on your bell’s surface. Whether it’s an initial representing a loved one’s name or a meaningful icon that holds significance in your life, these symbols will give your creation a deeper sense of connection.
Remember, when adding decorative elements, maintain balance and harmony with the overall design of your bell. It’s important to ensure that the embellishments don’t overpower the beauty of the bell itself.
By incorporating these creative ideas, you can elevate your handcrafted bell into a true work of art. Take inspiration from various sources, unleash your creativity, and let your imagination guide you in adding decorative elements that will make your bell truly unique and captivating.