
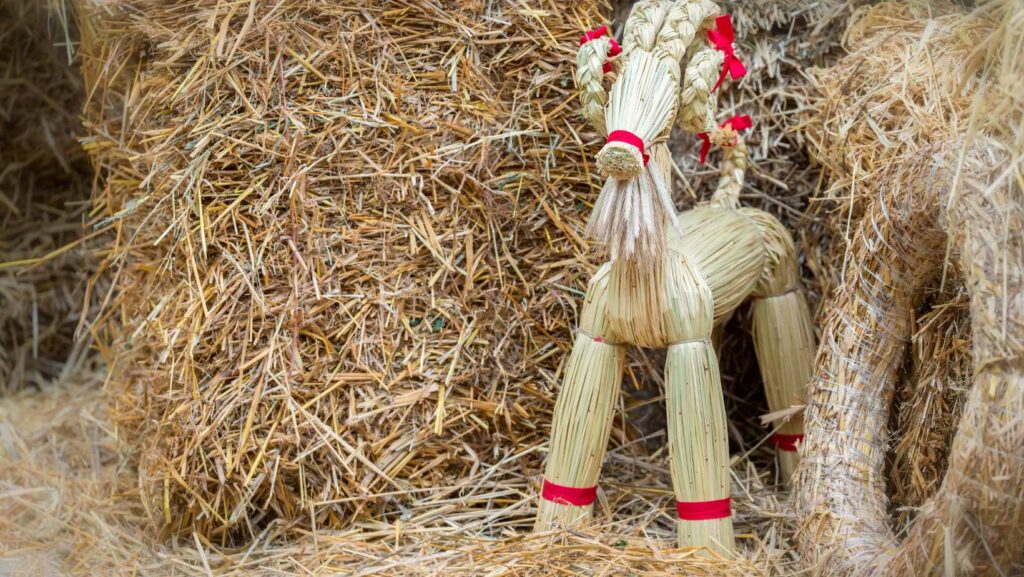
Crafting a Yule Goat Dreamlight Valley can be a delightful and festive project that adds a touch of magic to your holiday decor. In this article, I’ll guide you through the process of creating your very own enchanting Yule Goat Dreamlight Valley.
To begin, gather the necessary materials: a sturdy base for your valley, such as a wooden platform or tray; artificial snow or cotton batting; miniature trees, houses, and figurines; LED string lights; and of course, the star of the show – the Yule Goat itself.
Start by preparing your base with a layer of artificial snow or cotton batting to create a winter wonderland effect. This will serve as the snowy landscape for your dreamlight valley. Arrange the miniature trees and houses in an aesthetically pleasing manner, creating little vignettes throughout the valley.
Next, it’s time to add some sparkle! Carefully weave LED string lights among the trees and houses, ensuring they are evenly distributed to create a warm glow. The soft illumination will bring life to your Yule Goat Dreamlight Valley.
How to Craft a Yule Goat Dreamlight Valley
Adding Delicate Ornaments
When it comes to crafting a Yule Goat Dreamlight Valley, adding delicate ornaments is an essential step in creating a visually stunning display. These ornaments not only add charm but also bring the magical spirit of the holiday season to life. Here are some tips on how to add those special touches:
- Choose the Right Ornaments: Select ornaments that complement the overall theme and color scheme of your Yule Goat Dreamlight Valley. Consider using traditional Christmas symbols like stars, snowflakes, and angels or opt for nature-inspired elements such as pinecones and berries.
- Placement is Key: Strategically place the ornaments throughout your display to create balance and visual interest. Hang them from branches, drape them along fences or rooftops, or even scatter them on the ground for an enchanting effect.
- Mix and Match: Don’t be afraid to mix different types of ornaments together. Combine various sizes, shapes, and textures to create depth and dimension in your Yule Goat Dreamlight Valley.
Enhancing the Facial Features
One of the most captivating aspects of a Yule Goat Dreamlight Valley is its expressive facial features. Enhancing these features can really make your creation come alive with personality and character. Here’s how you can do it:
- Focus on Details: Pay close attention to details when sculpting or painting the face of your yule goat. Use fine brushes or carving tools to create intricate lines for eyebrows, eyes, nose, mouth, and ears.
- Use Vibrant Colors: Experiment with vibrant colors while painting the face of your yule goat dreamlight valley. Bold shades can bring out different expressions and make each feature more prominent.
- Add Depth with Shadows: Incorporate shadows around certain facial features such as eyes or cheekbones using darker shades of paint. This technique adds depth and dimension, making your yule goat’s face more realistic.
Adding LED Lights For a Magical Glow
In this section, I’ll guide you through the process of adding LED lights to your yule goat dreamlight valley, creating a truly enchanting and magical glow. Let’s get started!
- Choose the Right LED Lights: Selecting the right LED lights is crucial for achieving the desired effect. Opt for warm white or soft white LEDs to create a cozy and inviting ambiance. Make sure they are suitable for outdoor use and have waterproof ratings if your yule goat dreamlight valley will be displayed outside.
- Plan Your Lighting Design: Before you begin installing the LED lights, take some time to plan your lighting design. Consider where you want to place the lights, whether on the yule goats themselves or around them in the surrounding landscape. Visualize how you want the light to accentuate different elements of your display.
- Securely Attach the Lights: Using clips or adhesive hooks specifically designed for outdoor use, fasten the LED lights securely onto your yule goat sculptures or any other desired areas. Be mindful of not damaging or altering their original structure while attaching the lights.
- Create Layers of Light: To add depth and dimension to your yule goat dreamlight valley, incorporate different layers of light. Use strands of varying lengths and densities to create an eye-catching effect that highlights different features of your display.
- Emphasize Key Elements: Direct attention towards key elements by strategically placing additional LED lights around them. For example, illuminate pathways leading up to each yule goat or highlight intricate details like horns or ornaments with focused lighting.
Remember, the goal is to create a magical glow that complements your yule goat dreamlight valley while ensuring a safe and enjoyable experience for everyone. With these steps in mind, you’ll soon have a captivating display that will delight both young and old alike.
Happy crafting!
