
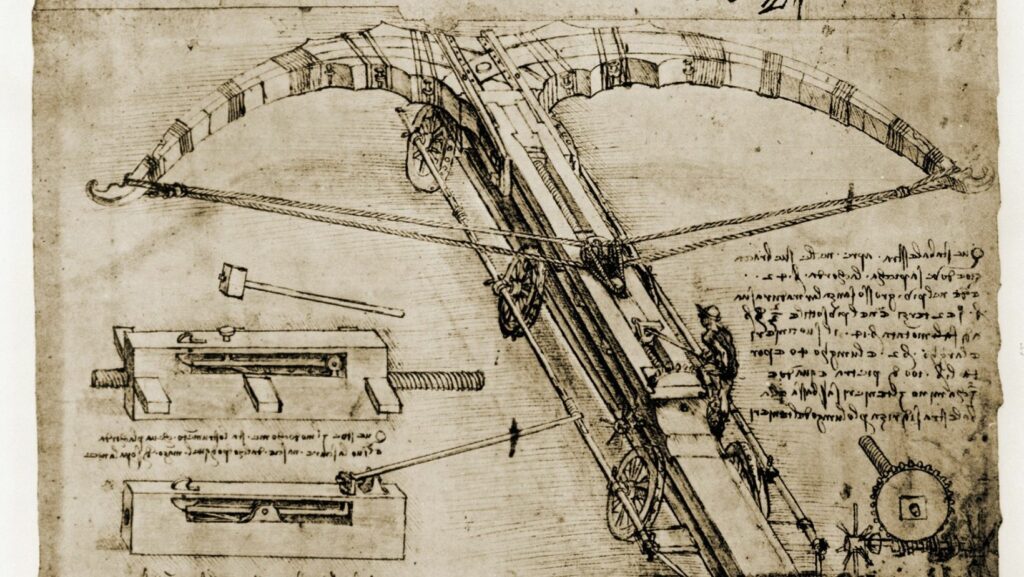
Crafting a bow can be a rewarding and fulfilling experience for any archery enthusiast. Whether you’re a beginner or an experienced archer, knowing how to craft your own bow can give you a deeper understanding and appreciation for this ancient art. In this article, I’ll guide you through the step-by-step process of crafting a bow, from selecting the right materials to shaping and stringing your masterpiece. So, grab your tools and let’s dive into the world of bow crafting.
When it comes to crafting a bow, the choice of materials is crucial. The type of wood you select will determine the strength, flexibility, and overall performance of your bow. From traditional options like yew and osage orange to more readily available woods like hickory and bamboo, each material has its own unique characteristics. In this article, I’ll discuss the pros and cons of different woods and help you choose the best one for your bow crafting project.
Materials Needed
To craft your own bow, you’ll need a few essential materials. Here’s a list of what you’ll need to get started:
- Wood: Selecting the right type of wood is crucial for a well-performing bow. Look for woods like yew, hickory, or osage orange, as they are known for their strength and flexibility.
- Bow Blank: This is a pre-cut piece of wood in the shape of a bow. You can purchase a bow blank or make one yourself using a template. Make sure the blank is the right length and width for your desired bow design.
- Rasp: A rasp is a tool used for shaping the bow. It helps to remove excess wood and create the desired curve. Look for a rasp with a comfortable grip and sharp teeth for efficient shaping.
- File: A file is another essential tool for refining the shape of the bow. It smooths out rough edges and helps achieve a symmetrical design. Choose a file with a fine grain for more precise shaping.
- Sandpaper: Sandpaper is used for smoothing the surface of the bow. Start with a coarse-grit sandpaper to remove any remaining roughness, and gradually move to finer-grit sandpaper for a polished finish.
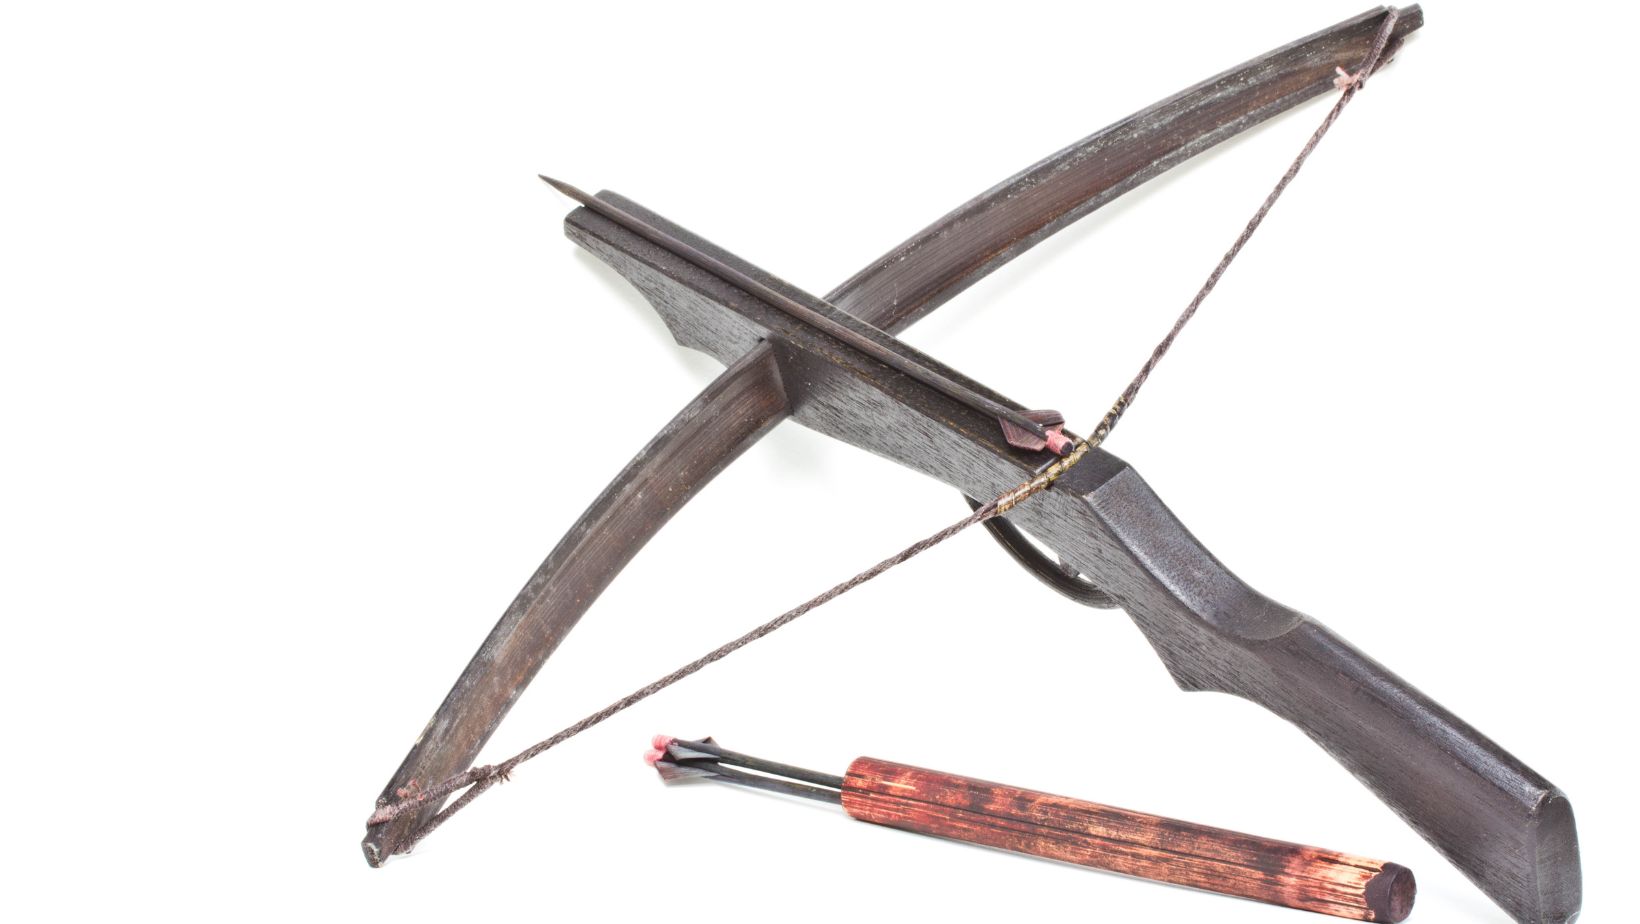
- String: The bowstring is what gives the bow its power and flexibility. Choose a strong and durable material like Dacron or Fast Flight. Measure the length of the bow and add a few inches for knot tying.
- Bowstring Wax: Applying bowstring wax helps to protect and prolong the life of the bowstring. It also reduces friction, allowing for smoother arrow release. Make sure to choose a wax specifically designed for bowstrings.
Now that you have gathered all the necessary materials, it’s time to move on to the next step in crafting your own bow – shaping the bow.
How To Craft Bow
Once you have selected the perfect wood for your bow, it’s time to move on to the next step: shaping the bow. This is a crucial part of the bow making process as it determines the overall performance and functionality of your bow. Here’s a step-by-step guide on how to shape your bow:
- Mark the dimensions: Begin by marking the length and thickness of your bow on the chosen wood. Use a sharp pencil or marker to make accurate markings.
- Remove excess wood: Use a saw or a bandsaw to cut out the rough shape of your bow. Start by removing the excess wood from the sides, leaving a rectangular shape.
- Taper the limbs: Taper the limbs of the bow by removing wood from the edges. This will give your bow the desired flexibility and help it bend properly when drawn.
- Smooth the edges: Use a rasp or a file to smooth out the edges of the bow. This will ensure that the bow is comfortable to hold and reduces the risk of splinters.
- Shape the handle: Carve the handle of the bow to fit comfortably in your hand. You can use a knife or chisel to shape the handle according to your preference.
- Fine-tune the shape: Use sandpaper to refine the shape of the bow and remove any rough spots or imperfections. Start with coarse-grit sandpaper and gradually move to finer grits for a smooth finish.
Remember, shaping the bow requires precision and patience. Take your time to carefully shape and smooth the wood to achieve the desired outcome. Once you are satisfied with the shape, you can move on to the next step: stringing the bow.