
Crafting deepslate tiles is a fascinating process that allows you to add a unique touch to your home decor. If you’re wondering how to craft deepslate tiles, I’ll guide you through the steps so that you can create stunning pieces for your space.
How to Craft Deepslate Tiles
When it comes to crafting deepslate tiles, having the right tools is essential to ensure precision and efficiency. In this section, I’ll guide you through the process of choosing the perfect tools for your craft. Let’s dive in!
- Tile Cutter: Investing in a high-quality tile cutter can make all the difference in achieving clean and accurate cuts. Look for a cutter with a sharp carbide wheel or diamond blade specifically designed for cutting stone tiles like deepslate. This tool will enable you to trim the tiles to your desired size effortlessly.
- Wet Saw: For larger projects or intricate designs, a wet saw can be extremely helpful. It uses water to cool down the blade while cutting, reducing friction and preventing overheating. With its adjustable settings and precise control, a wet saw allows you to achieve complex shapes and angles with ease.
- Grout Float: After laying down your deepslate tiles, grouting is an important step in completing the project. A grout float is an essential tool used to spread and pack grout between tiles evenly. Opt for a rubber float with firm edges that won’t damage or scratch the surface of your deepslate tiles.
- Notched Trowel: To create proper adhesion between deepslate tiles and the substrate, using a notched trowel is crucial when applying adhesive mortar or thinset. The notches on one side of this tool help create ridges on the surface, allowing better grip and bonding strength.
- Tile Nippers: Sometimes you may encounter areas where full-size deepslate tiles need trimming or shaping around corners or uneven edges. This is where tile nippers come into play! These handheld tools allow you to carefully chip away small sections of tile until it fits perfectly into place.
Remember, having these tools at hand will greatly facilitate your journey in crafting deepslate tiles. Each tool serves a specific purpose, ensuring that you achieve professional-looking results with precision and ease.
Creating a Layout Pattern for Deepslate Tiles
When it comes to crafting deepslate tiles, one crucial aspect to consider is creating a layout pattern that enhances the overall aesthetic appeal of your project. In this section, I’ll walk you through the steps involved in designing a captivating and visually pleasing layout for your deepslate tiles.
- Plan the Design: Before diving into the actual installation process, take some time to plan out your design. Consider factors such as the size and shape of the area where you’ll be installing the deepslate tiles, as well as any specific patterns or motifs you wish to incorporate. Sketching out your ideas on paper can help give you a clearer vision of how everything will come together.
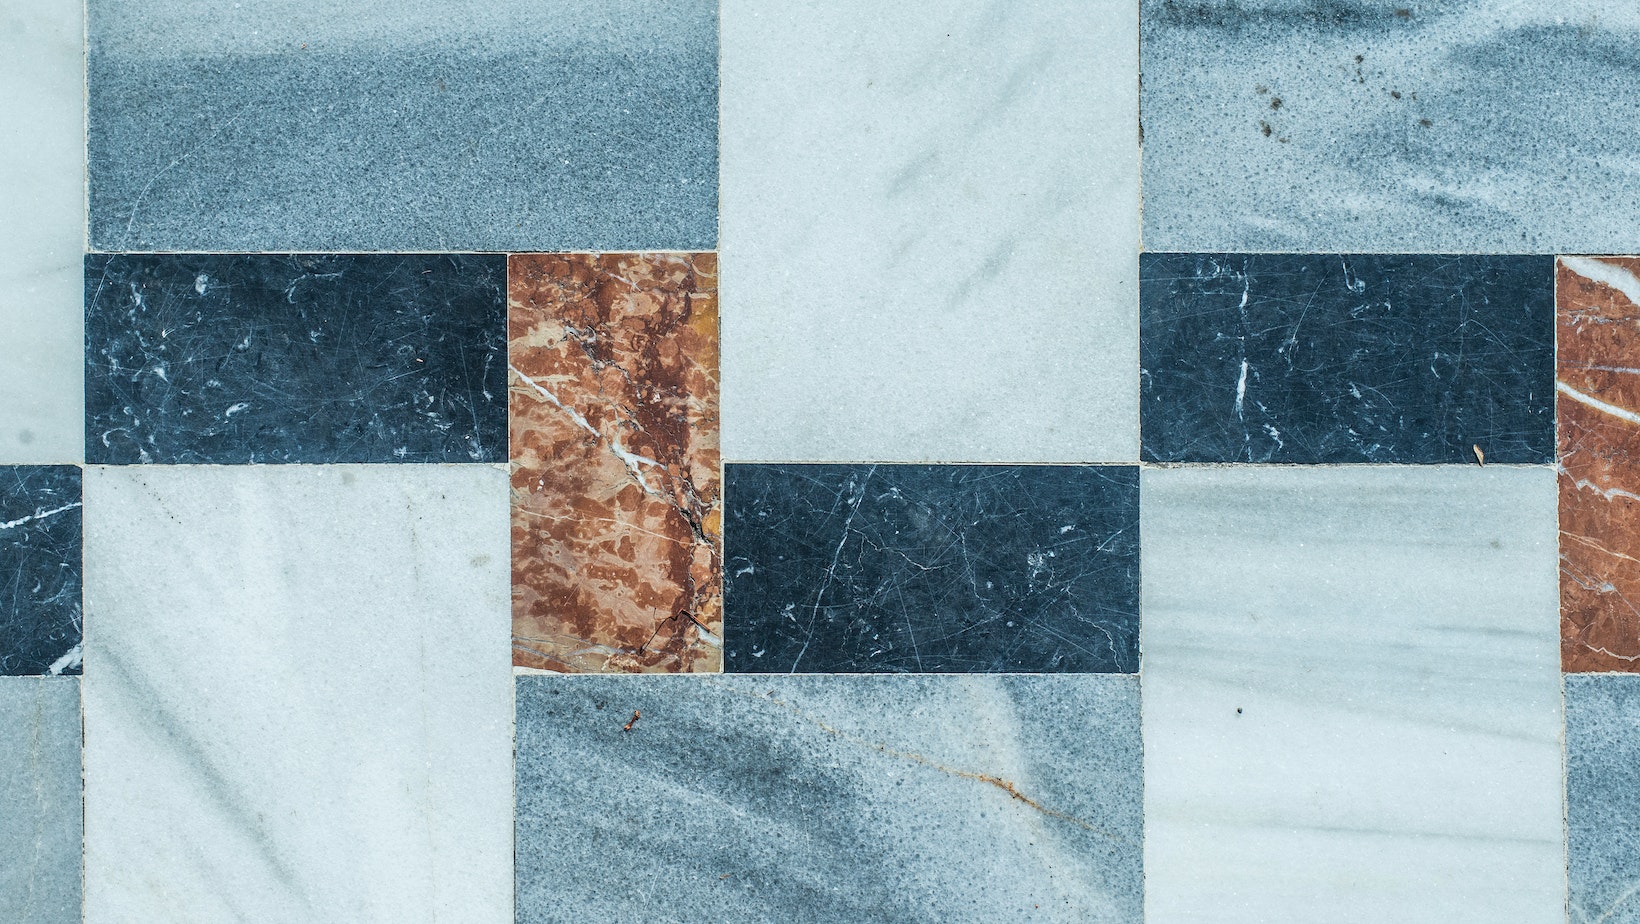
- Experiment with Patterns: Deepslate tiles offer a wide range of design possibilities due to their unique texture and color variations. Take advantage of this by experimenting with different patterns. Opt for classic options like herringbone or basketweave for a timeless look, or get creative with more intricate designs like chevron or Moroccan-inspired motifs.
- Consider Tile Sizes: Another factor that can greatly impact your layout pattern is the size of the deepslate tiles themselves. Larger tiles tend to create a more seamless and modern appearance, while smaller ones can add depth and detail to the overall design. Play around with different tile sizes to find what works best for your space.
- Balance Color Contrasts: Deepslate tiles are known for their rich earthy tones and natural variation in color shades. When designing your layout pattern, pay attention to balancing color contrasts between individual tiles or sections of your installation area. This can help create visual interest and highlight certain areas within your design.
- Test Placement Options: Once you have finalized your preferred layout pattern, it’s essential to test it out before committing fully to installation. Lay out several rows or sections of deepslate tiles on top of the installation area to get a sense of how the pattern flows and whether any adjustments are needed. This step can save you from potential mistakes or regrets later on.
By following these steps and taking the time to carefully craft your layout pattern, you’ll be able to create a stunning visual impact with your deepslate tile project. Remember, experimentation and attention to detail are key in achieving a design that truly reflects your personal style and enhances the beauty of your space.