

Craft foam is a versatile material that can be used for a wide range of creative projects. However, cutting craft foam accurately and cleanly can sometimes be a challenge. If you’re wondering how to cut craft foam effectively, I’ve got you covered.
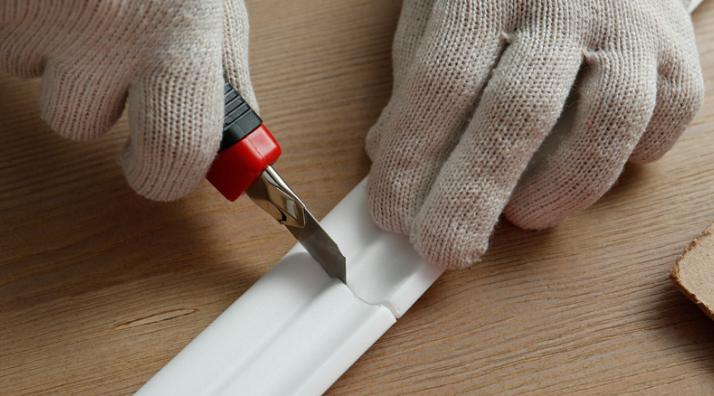
To start, gather the necessary tools for the job. A sharp utility knife or craft blade will give you precise cuts, while a cutting mat will protect your work surface. You may also find it helpful to have a ruler or straight edge handy for guiding your cuts.
Before diving into the cutting process, mark your desired shape or design on the craft foam using a pencil or marker. This will help ensure accuracy and prevent mistakes. When ready to cut, hold the craft foam firmly in place on the cutting mat and use steady pressure to guide your blade along the marked lines.
For straight cuts, simply follow the marked lines with your blade while applying consistent pressure throughout. If you need curved or intricate cuts, consider using small scissors instead of a blade for better control.
Remember to take breaks if needed and work at your own pace to avoid any accidents. With practice and patience, you’ll soon become more confident in cutting craft foam like a pro!
How To Cut Craft Foam
Craft foam is a versatile material that can be used for a wide range of projects. From creating intricate designs to simple shapes, it offers endless possibilities for crafting enthusiasts. However, not all craft foams are created equal, and choosing the right one for your cutting needs is crucial. In this section, I’ll share some tips and considerations to help you select the perfect craft foam.
- Density: One important factor to consider when choosing craft foam for cutting is its density. The density of foam affects its durability and ease of cutting. Generally, denser foams are more durable but may require sharper tools and more effort to cut through. On the other hand, less dense foams are easier to cut but may not hold up as well over time. Consider the level of detail you want in your project and choose a foam with an appropriate density.
- Thickness: Craft foams come in various thicknesses, ranging from thin sheets to thicker blocks or rolls. The thickness you choose depends on the nature of your project and how deep you want your cuts to be. Thicker foam provides more depth for intricate designs but may require longer blades or specialized tools for cutting cleanly. Thinner foam is suitable for simpler shapes or precise cuts where fine details matter.
- Surface Texture: Craft foams can have different surface textures such as smooth, textured, or embossed patterns. The texture can enhance the visual appeal of your project but also affect how easily it can be cut. Smooth surfaces allow blades to glide smoothly while textured surfaces provide better grip but might require more effort during cutting.
- Compatibility with Tools: Consider the tools you have or plan to use for cutting before selecting craft foam. Some foams work better with specific types of tools like scissors, craft knives, hot wire cutters, or die-cutting machines. Ensure that the foam you choose is compatible with the cutting tools you have or are willing to invest in.
- Project Requirements: Lastly, consider the specific requirements of your project. If you need a foam that can withstand heat, such as for cosplay props or hot glue applications, look for heat-resistant options. For outdoor projects, choose foams with UV resistance to prevent fading and deterioration over time.
Remember, every project is unique, and experimenting with different types of craft foam can help you discover what works best for your cutting needs. Consider these factors when selecting craft foam for your next project, and let your creativity soar!