
How to Craft a Pot
Crafting a pot can be a rewarding and creative endeavor. Whether you’re a seasoned artist or a beginner looking to explore your artistic side, learning how to craft a pot is a skill that can be honed and enjoyed by anyone. In this article, I’ll share some valuable tips and techniques to help you create beautiful and functional pots that will impress your friends and family.
Pottery has a rich history that dates back thousands of years, and it continues to be a popular art form today. From hand-building techniques to wheel throwing, there are various methods you can use to create a pot. I’ll guide you through the step-by-step process, from selecting the right clay to adding finishing touches. With a little patience and practice, you’ll soon be able to create pots that are not only visually appealing but also serve a practical purpose.
Materials Needed
Clay
The first material you’ll need to craft a pot is clay. Clay is the foundation of pottery making and comes in different types, each with its own unique characteristics. Some common types of clay used for pottery include earthenware, stoneware, and porcelain. It’s important to choose the right type of clay for your project based on factors such as the desired color, texture, and firing temperature.
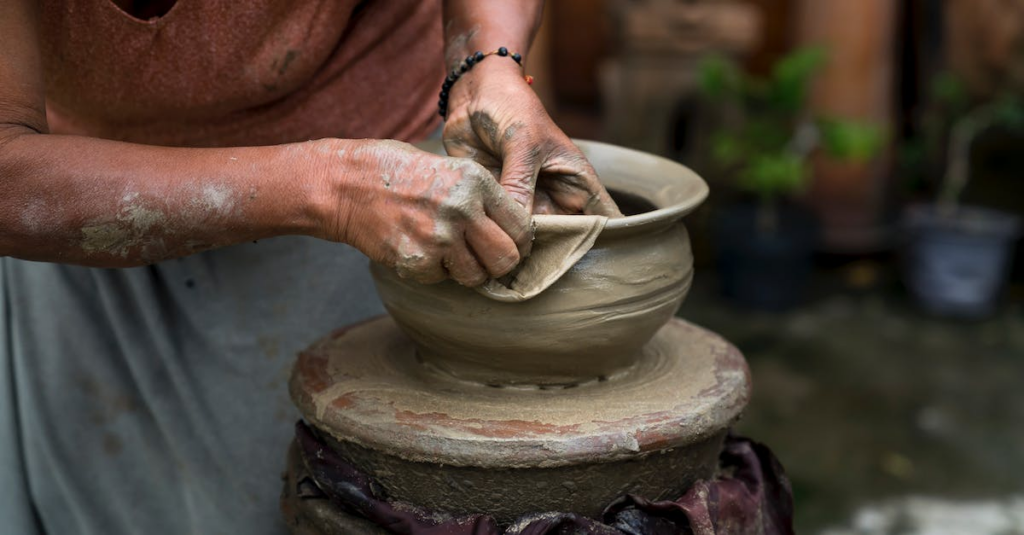
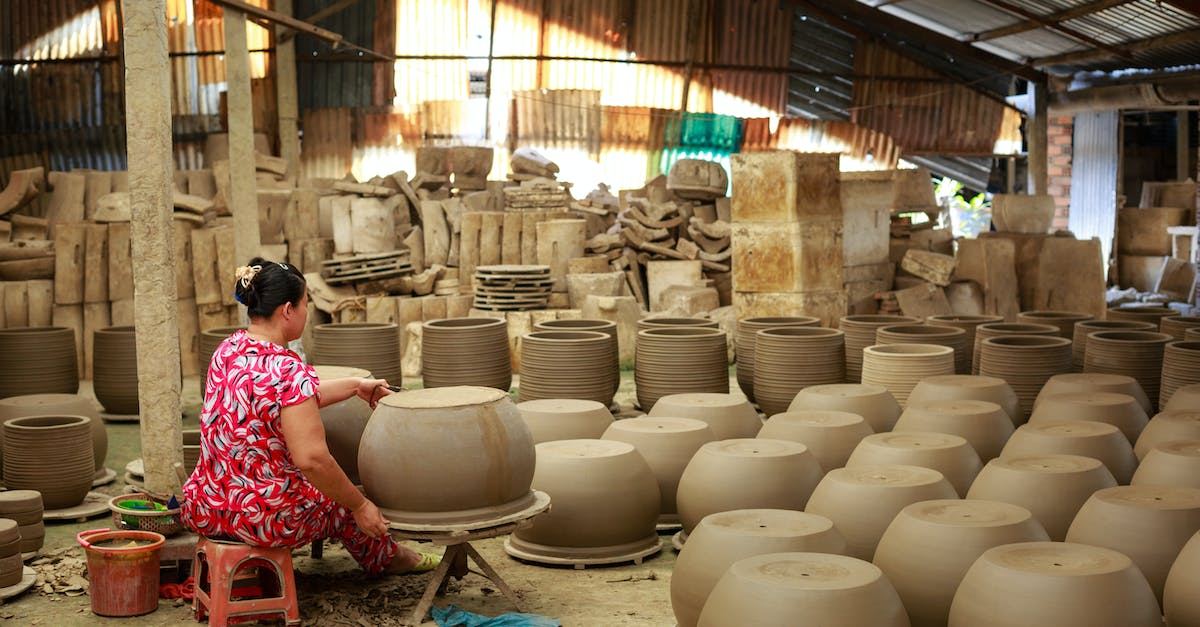
Pottery Wheel
Another essential material for crafting pots is a pottery wheel. This tool allows you to shape and form the clay with precision and control. There are different types of pottery wheels available, such as electric wheels and kick wheels. Electric wheels are powered by electricity and offer a consistent speed, while kick wheels are operated manually by using a foot pedal. Whichever type you choose, make sure it suits your skill level and the type of pots you want to create.
Preparing the Clay
Wedging the Clay
One crucial step in preparing the clay for pottery is wedging. Wedging helps to remove air bubbles and ensure the clay is evenly mixed, which is essential for creating a strong and durable pot. To wedge the clay, follow these steps:
- Start by cutting the clay into smaller pieces using a wire tool or a clay cutter.
- Take one piece of clay and push it firmly onto the table or work surface.
- Press down on the clay with your hands, using a rocking motion to flatten it.
- Fold the clay in half and press down again, repeating this process several times.
- Rotate the clay and continue folding and pressing until you feel the clay becoming more pliable and uniform in texture.
Adding Water
After wedging the clay, it’s time to add water to achieve the right consistency for shaping and molding. Adding water helps to make the clay more workable and easier to manipulate. Here’s how to add water to the clay:
- Create a well in the center of the clay by pushing your thumb into the clay.
- Slowly pour a small amount of water into the well.
- Begin working the water into the clay by using your hands or a clay sponge.
- Gradually add more water as needed, being careful not to add too much at once.
- Continue kneading and working the water into the clay until it reaches a pliable and smooth consistency.
Remember, the amount of water needed may vary depending on the type of clay and the desired consistency. It’s important to add water gradually to avoid making the clay too wet or sticky.
By following these steps, you’ll be well on your way to preparing the clay for your pottery project.
In Conclusion crafting pots is a fascinating art form that allows individuals to express their creativity and create functional pieces of pottery. Throughout this article, we have explored the history of pottery and the different techniques used to craft pots, including hand-building and wheel throwing.
One of the key takeaways from this article is the importance of selecting the right type of clay for your project. By choosing the appropriate clay, you can ensure that your pots are durable and have the desired aesthetic qualities.