
Crafting a crossbow may seem like a daunting task, but with the right guidance and a bit of patience, you’ll be able to create your very own powerful weapon. In this tutorial, I’ll walk you through the step-by-step process of crafting a crossbow that is both functional and safe to use. Whether you’re an experienced DIY enthusiast or just looking for a new project to tackle, this tutorial will provide all the information you need to get started.
Before we dive into the actual construction process, it’s important to understand the different components of a crossbow. From the stock and prod to the trigger mechanism and string, each part plays a crucial role in ensuring accuracy and power. Throughout this tutorial, I’ll explain how these components come together and guide you in selecting the right materials for your crossbow.
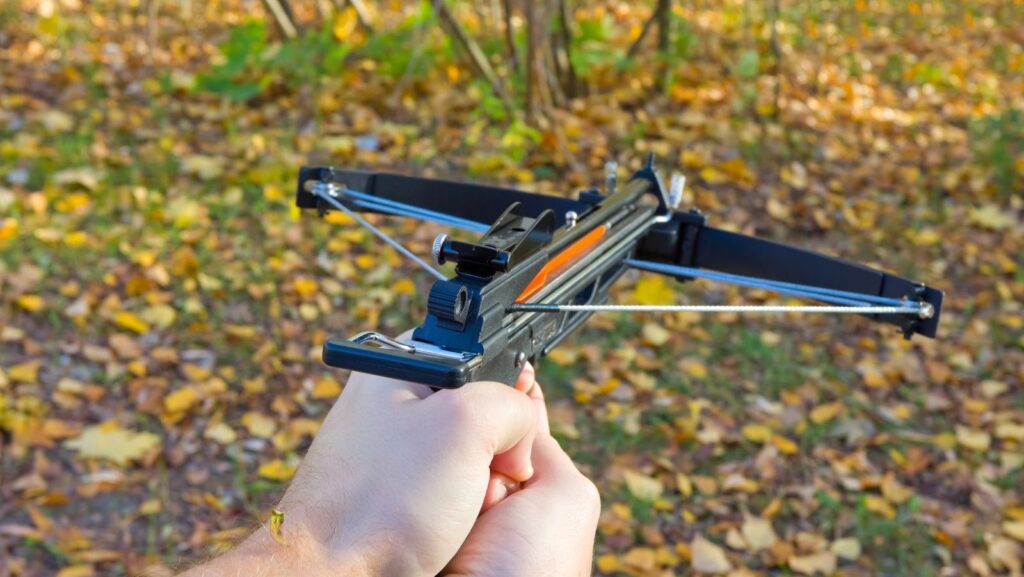
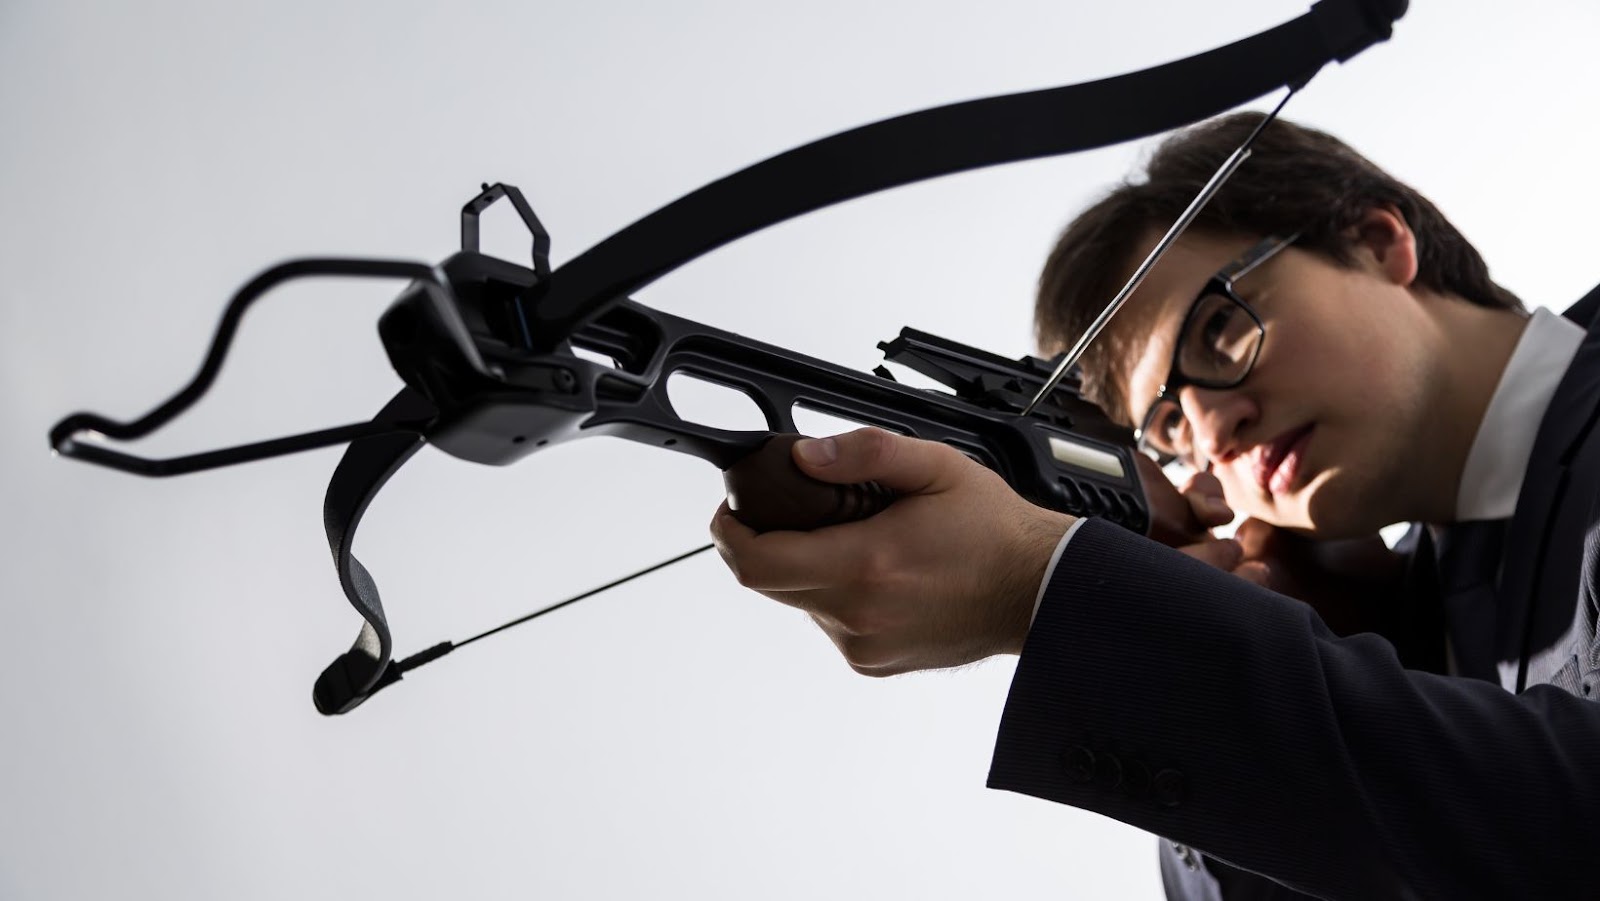
How To Craft A Crossbow
Selecting the Ideal Crossbow Frame
When it comes to selecting a crossbow, one of the most crucial components to consider is the frame. The frame not only provides stability but also determines the overall performance and accuracy of the crossbow. There are various factors to keep in mind when choosing the ideal crossbow frame:
- Material: Crossbow frames can be made from different materials, such as aluminum, carbon fiber, or composite blends. Each material has its own set of advantages and considerations. For example, aluminum frames offer durability and strength, while carbon fiber frames provide lightweight maneuverability.
- Design: Pay attention to the design of the frame as well. Look for features like compactness and weight distribution that contribute to ease of use and enhanced shooting experience.
- Grip: A comfortable grip is essential for proper control and accuracy while shooting a crossbow. Opt for a crossbow with an ergonomic grip that fits your hand size comfortably.
- Adjustability: Some crossbows offer adjustable frames that allow you to customize the length of the pull or stock position according to your preferences. This feature can greatly enhance comfort and usability.
Step-by-Step Guide to Crafting a Crossbow
Creating a Custom Crossbow String
To start crafting your own crossbow, the first step is to create a custom crossbow string. The string is an essential component that provides tension and propels the bolt forward. Here’s how you can make your own:
- Gather materials: You’ll need a strong, durable material such as Dacron or Fast Flight for your string. Additionally, you’ll require serving thread and bowstring wax.
- Measure and cut: Determine the desired length of your crossbow string based on the specifications of your crossbow frame. Use a measuring tape to ensure accuracy, then cut the material accordingly.
- Prepare loops: Tie loops at both ends of the string using bowyer’s knots or Flemish twists techniques. These loops will be attached to the limb tips later on.
- Apply serving thread: To protect the main body of the string from wear and tear, wrap the serving thread tightly around it at several intervals, leaving small gaps in between each wrapping.
- Waxing: Lastly, apply bowstring wax generously onto the entire length of the string to increase its longevity and prevent fraying.
Assembling the Crossbow Frame
Once you have crafted your custom crossbow string, it’s time to assemble the crossbow frame itself. This step involves putting together various components that form its structure. Follow these steps for successful assembly:
- Gather parts: Ensure you have all necessary components, including the riser (the main body), stock (handle), trigger mechanism, barrel (where bolts are loaded), and any additional accessories like sights or quivers.
- Attach limbs: Carefully attach each limb to either side of the riser using screws or bolts provided with your kit or design blueprint.
- Mount stock: Securely attach the stock onto one end of the riser assembly using screws or other appropriate fasteners. Double-check for stability and alignment.
- Install trigger mechanism: Follow the manufacturer’s instructions or design specifications to properly install the trigger mechanism onto the stock. This step may require additional adjustments or fine-tuning.
- Attach accessories: If desired, attach any accessories such as sights, scopes, or quivers following the provided guidelines and recommendations.