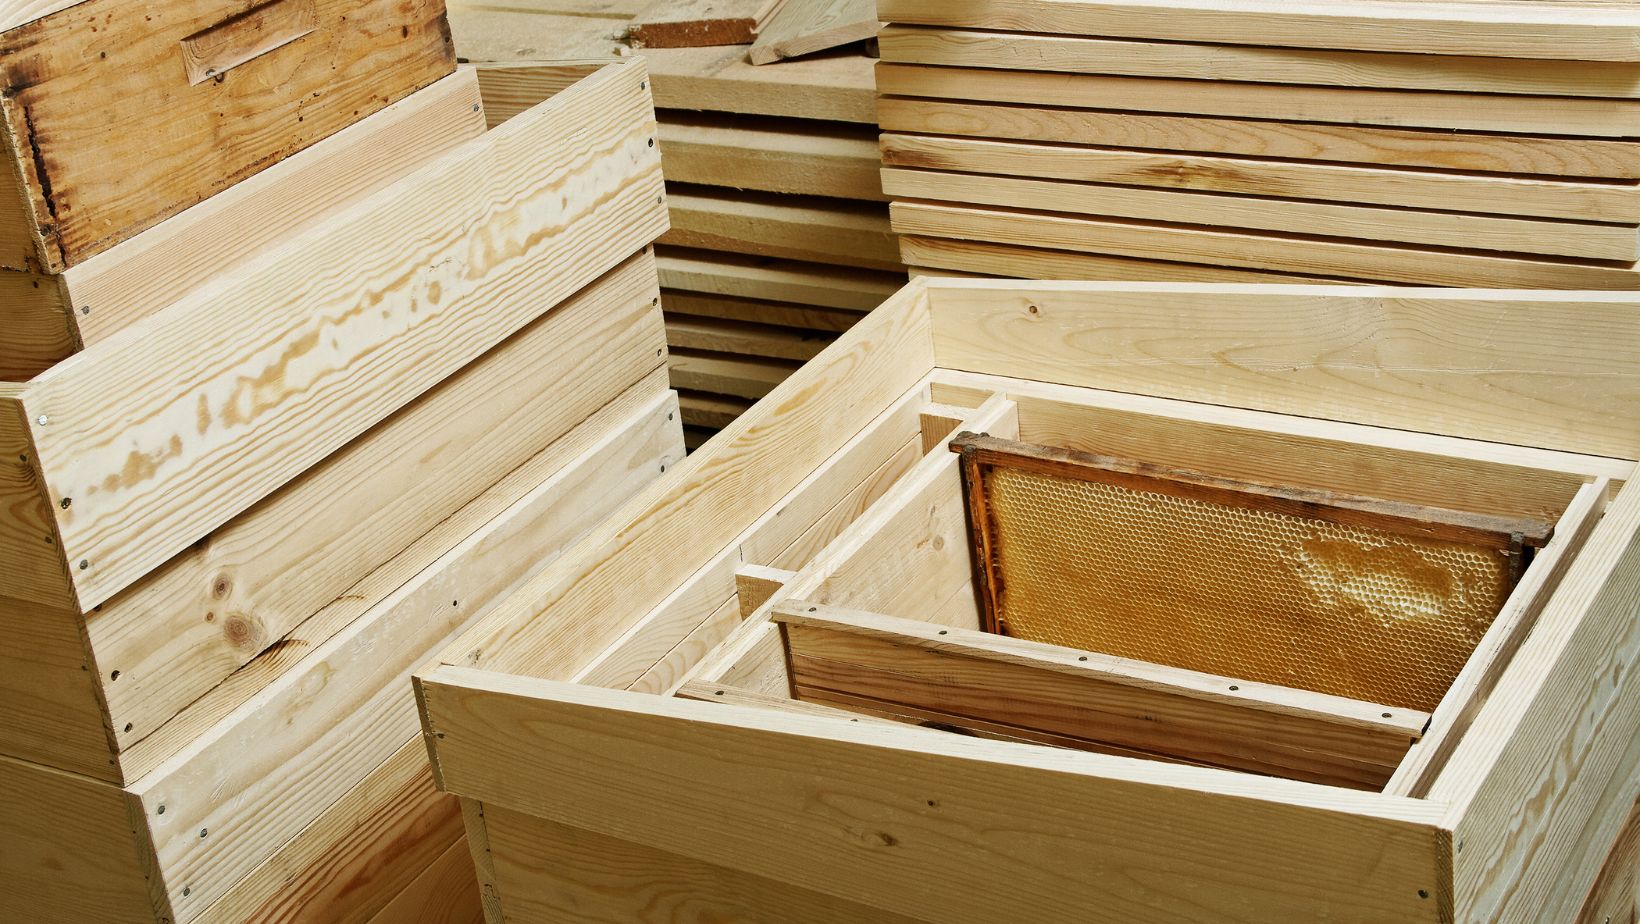
Looking for a fun and creative craft project? Look no further than making your very own beehive! In this article, I’ll guide you through the step-by-step process of creating a beehive craft project that will not only provide entertainment but also serve as a delightful decoration.
To embark on this bee-utiful journey, gather the necessary materials such as cardboard or foam board, scissors, paint or markers, glue, and some decorative elements like faux flowers. Once you have everything ready, it’s time to dive into the creative process.
Firstly, cut out the shape of a beehive from the cardboard or foam board. You can either draw an outline beforehand or use a template for accuracy. Next, carefully decorate your beehive using paint or markers to give it that authentic touch. Don’t forget to add vibrant colors and intricate details to make it truly stand out!
How To Make A Beehive Craft Project
When it comes to creating a beehive craft project, adding decorative elements can elevate the overall look and make it truly buzz-worthy. In this section, we’ll explore some creative ways to enhance your beehive craft with colorful paint, faux flowers, ribbons, and bows.
Adding Colorful Paint
One way to bring life to your beehive craft is by adding a splash of vibrant colors. Consider using acrylic paints or spray paints in shades like yellow, orange, and brown to mimic the natural tones of a real beehive. You can also experiment with patterns such as stripes or polka dots for added visual interest.
To begin, gather your chosen paints along with brushes or sponges for application. Start by painting the base color onto the main body of the beehive, ensuring even coverage. Once dry, you can use different colors to add details like honeycomb patterns or stylized bees. Don’t forget to seal your painted surface with a clear varnish for longevity.
Attaching Faux Flowers
Adding faux flowers not only adds beauty but also creates an inviting atmosphere around your beehive craft project. These flowers can mimic the blossoms that attract bees in nature.
Start by selecting artificial flowers in colors like yellow or white to match the theme of a bee-friendly garden. Using hot glue or floral wire, carefully attach these flowers around the entrance of your beehive or create a garland effect across its body. This simple addition will provide an eye-catching element while giving off a delightful springtime vibe.

Caring for Your Beehive Craft Project
Now that you’ve completed your beehive craft project, it’s important to take proper care of it to ensure its longevity. Here are some tips on how to maintain and preserve your bee-themed masterpiece:
- Keep it clean: Regularly dust off your beehive craft project using a soft cloth or brush. This will help prevent the accumulation of dirt and keep it looking fresh.
- Avoid direct sunlight: Excessive exposure to sunlight can cause fading and discoloration over time. Display your beehive craft project in an area away from direct sunlight or use UV-resistant glass if possible.
- Handle with care: When moving or handling your beehive craft project, make sure to do so gently and avoid applying excessive pressure. This will help prevent any accidental damage or breakage.
- Store properly: If you need to store your beehive craft project temporarily, choose a cool and dry location away from moisture and extreme temperatures. Wrap it in acid-free tissue paper or bubble wrap to protect it from dust and potential scratches.
- Check for pests: Occasionally inspect your beehive craft project for any signs of pests such as insects or rodents that may cause damage. If detected, take appropriate measures to eliminate the pests without harming the artwork.
Remember, caring for your beehive craft project not only preserves its beauty but also ensures that future generations can enjoy its intricacy and charm as well. By following these simple steps, you’ll keep your creation buzzing with life for years to come!
I hope these tips help you maintain the quality of your beehive craft project! If you have any other questions about crafting or creative projects, feel free to ask me.

