
Crafting a sponge may seem like a daunting task, but with the right techniques and materials, you can create your own customized sponge for various purposes. In this article, I’ll guide you through the process of crafting a sponge, from selecting the appropriate materials to shaping and finishing it.
To start, gather your supplies. You’ll need natural cellulose sponges or loofahs, scissors or a knife, thread or yarn, and any additional embellishments you’d like to add. Next, cut the sponge into your desired shape and size. Whether you prefer a traditional rectangular shape or something more unique like a star or heart, it’s up to you!
How to Craft a Sponge
When it comes to crafting a sponge, there are several factors to consider in order to create the ideal cleaning tool. In this section, we’ll explore the process of crafting a sponge and provide insights into choosing the right material, considering durability and absorbency, and exploring different types of sponges.
Choosing the Ideal Sponge Material
The choice of material for your sponge is crucial as it determines its effectiveness and longevity. Here are some popular options to consider:
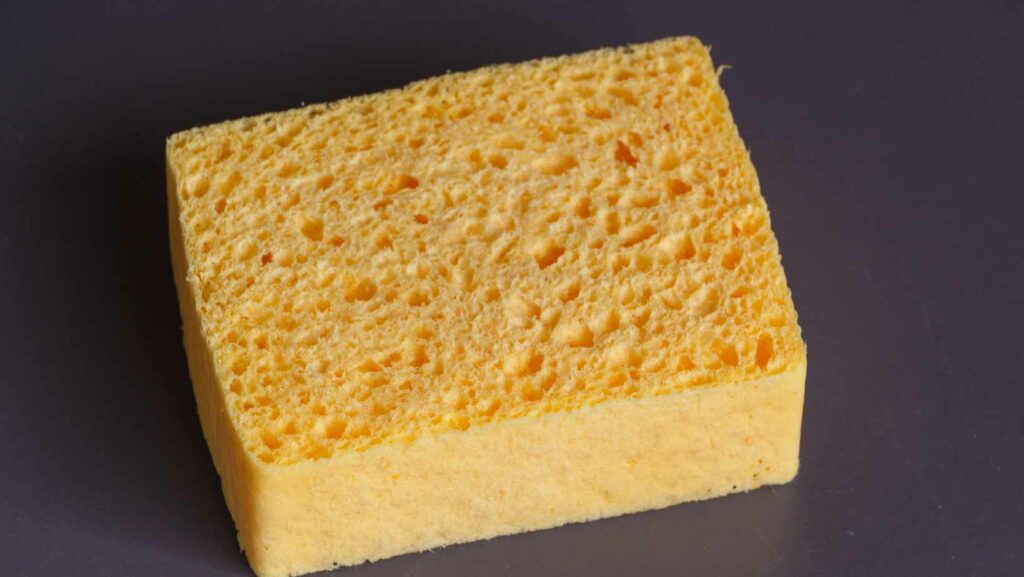
- Cellulose Sponges: Made from plant fibers, cellulose sponges are biodegradable and highly absorbent. They can hold a significant amount of liquid and are great for general cleaning tasks.
- Synthetic Sponges: These sponges are typically made from polyurethane foam or polyester materials. They come in various shapes and sizes, offering versatility for different cleaning purposes.
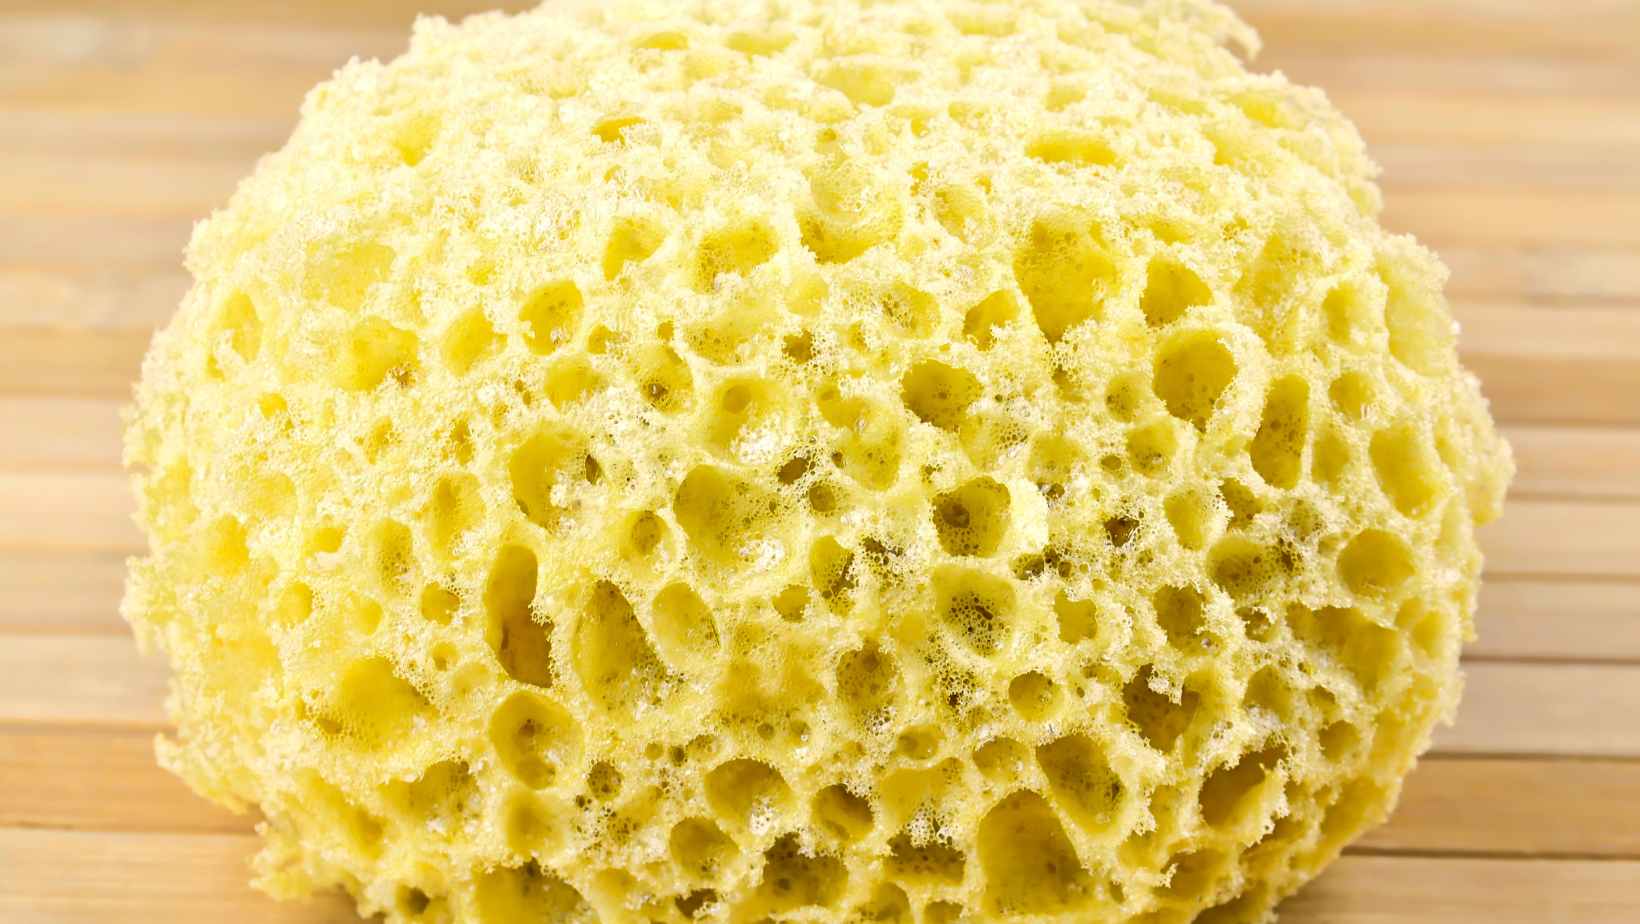
- Natural Sea Sponges: Harvested from oceans, natural sea sponges offer exceptional softness and gentle scrubbing capabilities. They are perfect for delicate surfaces like glassware or fine china.
Consider the specific requirements of your cleaning tasks when selecting the material for your sponge.
Considering Durability and Absorbency
Durability plays a vital role in determining how long your crafted sponge will last. Additionally, absorbency is key when it comes to efficient cleaning. Here’s what you need to keep in mind:
- Density: A denser sponge tends to be more durable but may have lower absorbency compared to softer ones.
- Pore Structure: Look for sponges with open-cell structures as they allow better absorption of water or cleaning solutions.
- Reinforcements: Some sponges come with added reinforcements like scrubbing pads or abrasive surfaces on one side, which can enhance their durability and make them suitable for tougher cleaning tasks.
Finding the right balance between durability and absorbency will ensure your crafted sponge effectively tackles various cleaning challenges.
Mixing And Pouring The Ingredients For Crafting a Sponge
As we continue our journey on how to craft a sponge, the next step is mixing and pouring the ingredients. This crucial stage sets the foundation for creating a light and fluffy sponge that embodies both taste and texture. In this section, I’ll guide you through the process of combining the key elements of your sponge recipe to achieve baking perfection.
- Gather Your Ingredients: Before diving into the mixing process, make sure you have all your ingredients at hand. This includes:
- Flour: Use all-purpose flour or cake flour for a tender crumb.
- Sugar: Granulated sugar adds sweetness and aids in structure formation.
- Eggs: They provide moisture, structure, and act as leavening agents when whipped.
- Butter or oil: These fats contribute richness and enhance flavor.
- Leavening agents: Baking powder or baking soda helps your sponge rise.
- Liquids (milk/water): Necessary for hydration and achieving proper consistency.
- Measure with Precision: Accurate measurements are essential for consistent results in baking. Use measuring cups or a kitchen scale to ensure precise quantities of each ingredient.
- Sift Dry Ingredients: Sifting your dry ingredients helps remove lumps, aerates them, and ensures even distribution throughout the batter.
- Cream Butter and Sugar: In a separate bowl, cream together softened butter (or oil) with granulated sugar until light and fluffy. This step incorporates air into the mixture, resulting in a softer texture.
- Add Eggs Gradually: Beat eggs one at a time into the creamed butter-sugar mixture until fully incorporated before adding another egg. This gradual addition prevents curdling while allowing eggs to emulsify properly.
Now that you’ve successfully mixed and poured your sponge ingredients, it’s time to move on to the next step: baking! Stay tuned for the final section of our guide where we’ll explore optimal baking techniques and tips for achieving a perfectly baked sponge cake.
Remember, mastering the art of crafting a sponge takes practice and patience. So don’t be discouraged if your first attempt isn’t flawless. With each try, you’ll refine your skills and create sponges that will impress both yourself and others with their lightness and flavor.