
Crafting a torch may seem like a simple task, but the process requires some know-how to create a reliable source of light. In this article, I’ll guide you through the steps on how to craft your own torch.
To begin, gather the necessary materials: a sturdy stick or rod as the handle, dry and flammable material such as dried leaves or small twigs for the fuel, and some type of binding material like string or wire. It’s important to ensure that your chosen fuel is easily ignitable and will burn steadily. Firstly, prepare your handle by choosing a stick that is about arm’s length and has a comfortable grip. Remove any excess branches or rough edges to make it easier to hold. Then, securely attach your chosen fuel material at one end of the handle using the binding material. Make sure it is tightly wrapped so that it won’t come loose while in use.
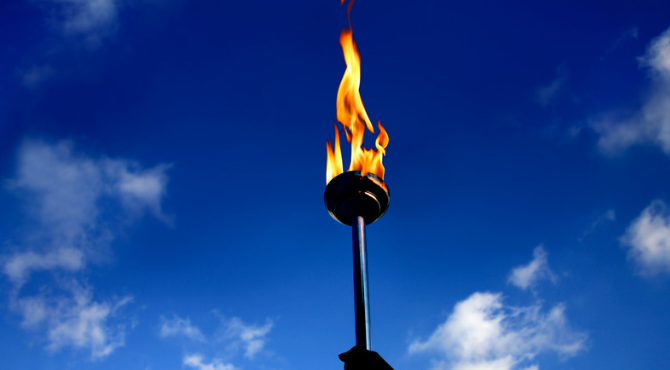
Once you have assembled your torch, it’s time for ignition. Hold the torch upright with the fuel end facing upwards. Use matches or a lighter to ignite the fuel material carefully. Allow it to catch fire and let it burn for a few moments until you are confident that it will continue burning steadily.
Remember to exercise caution when handling fire and always prioritize safety. Do not leave your torch unattended and keep flammable objects away from its vicinity. With these steps in mind, you are now equipped with knowledge on how to craft your very own torch for various outdoor activities or emergency situations.

How To Craft A Torch
Preparing the torch handle is a crucial step in crafting a torch. In this section, I’ll guide you through the process of getting your torch handle ready for use. Let’s dive in!
Firstly, gather all the necessary materials for preparing the torch handle. You’ll need a sturdy wooden stick or metal rod that serves as the base for your torch. Make sure it’s long enough to provide a comfortable grip while holding the torch. Next, carefully examine and smooth out any rough edges or splinters on the handle using sandpaper or a file. This step is important to ensure a secure and comfortable grip during usage. Remember, safety should always be a top priority when working with tools.
Once you’ve smoothed out the handle, consider adding some extra grip by wrapping it with twine or cloth tape. This will not only provide better traction but also protect your hands from heat if you’re using the torch for extended periods. If you prefer a more decorative touch, now is the time to unleash your creativity! You can paint or stain the handle to match your personal style or even carve intricate designs into it. Just remember to let any paint or stain dry completely before continuing with assembling your torch.
Lastly, attach any necessary components to complete your torch handle preparation. Depending on the type of torch you’re crafting, this could involve fastening metal brackets or fittings securely onto one end of the handle. Crafting a torch requires caution and adherence to safety guidelines due to its potential fire hazard nature. Always work in well-ventilated areas and take proper precautions while handling flammable materials.
With these steps completed, you’ve successfully prepared your torch handle! Now it’s time to move on to other sections of crafting your own unique and functional torch.
Remember that each person may have their own preferred methods and variations when it comes to preparing a torch handle. Feel free to adapt these steps based on what works best for you and experiment with different techniques along the way.
So there you have it – a comprehensive guide on how to prepare a sturdy and comfortable torch handle.